Monthly Calendar 2025 Excel: A Comprehensive Guide to Creating and Customizing Calendars
Related Articles: Monthly Calendar 2025 Excel: A Comprehensive Guide to Creating and Customizing Calendars
- 2025 Indian Festival Calendar: A Comprehensive Guide To Cultural Celebrations
- The Ultimate Guide To The 2025 UCD Calendar: A Comprehensive Overview
- 2025 Calendar Download: Plan Your Year Ahead With Precision
- 2025 Time And Date Brazil Calendar
- Show Me Calendar For 2025: A Comprehensive Guide To The Year Ahead
Introduction
In this auspicious occasion, we are delighted to delve into the intriguing topic related to Monthly Calendar 2025 Excel: A Comprehensive Guide to Creating and Customizing Calendars. Let’s weave interesting information and offer fresh perspectives to the readers.
Table of Content
Video about Monthly Calendar 2025 Excel: A Comprehensive Guide to Creating and Customizing Calendars
Monthly Calendar 2025 Excel: A Comprehensive Guide to Creating and Customizing Calendars
Introduction
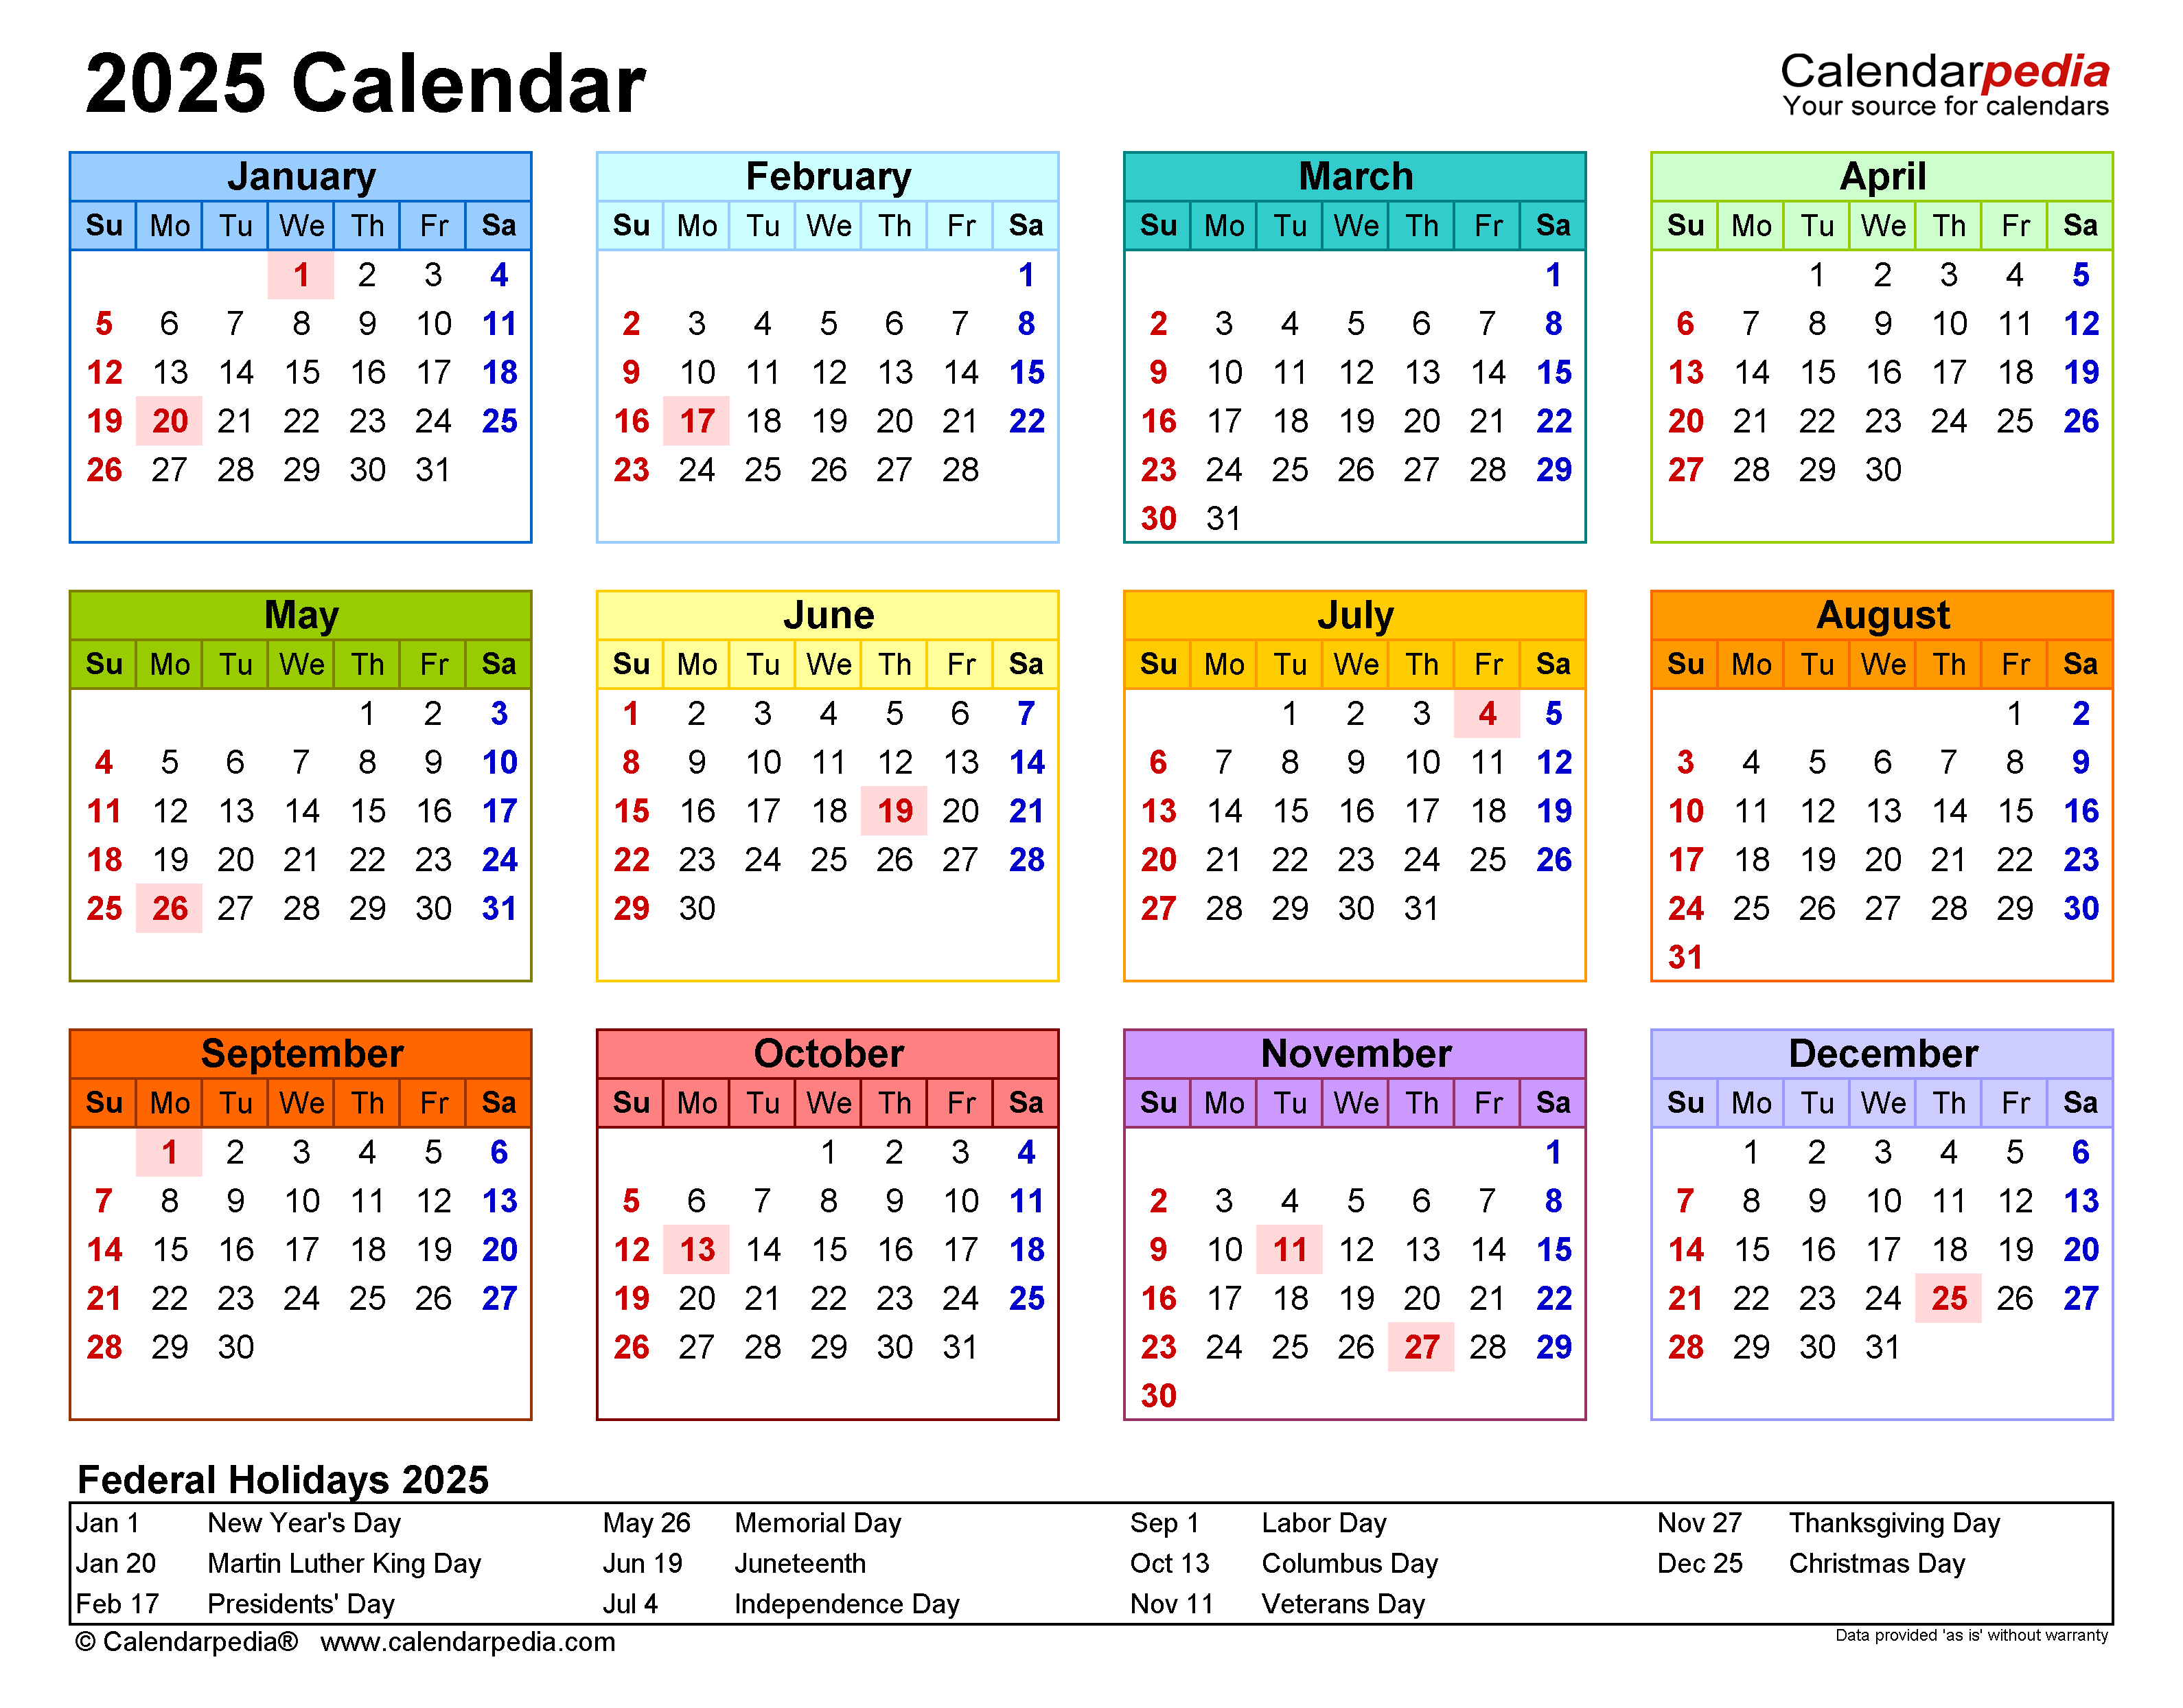
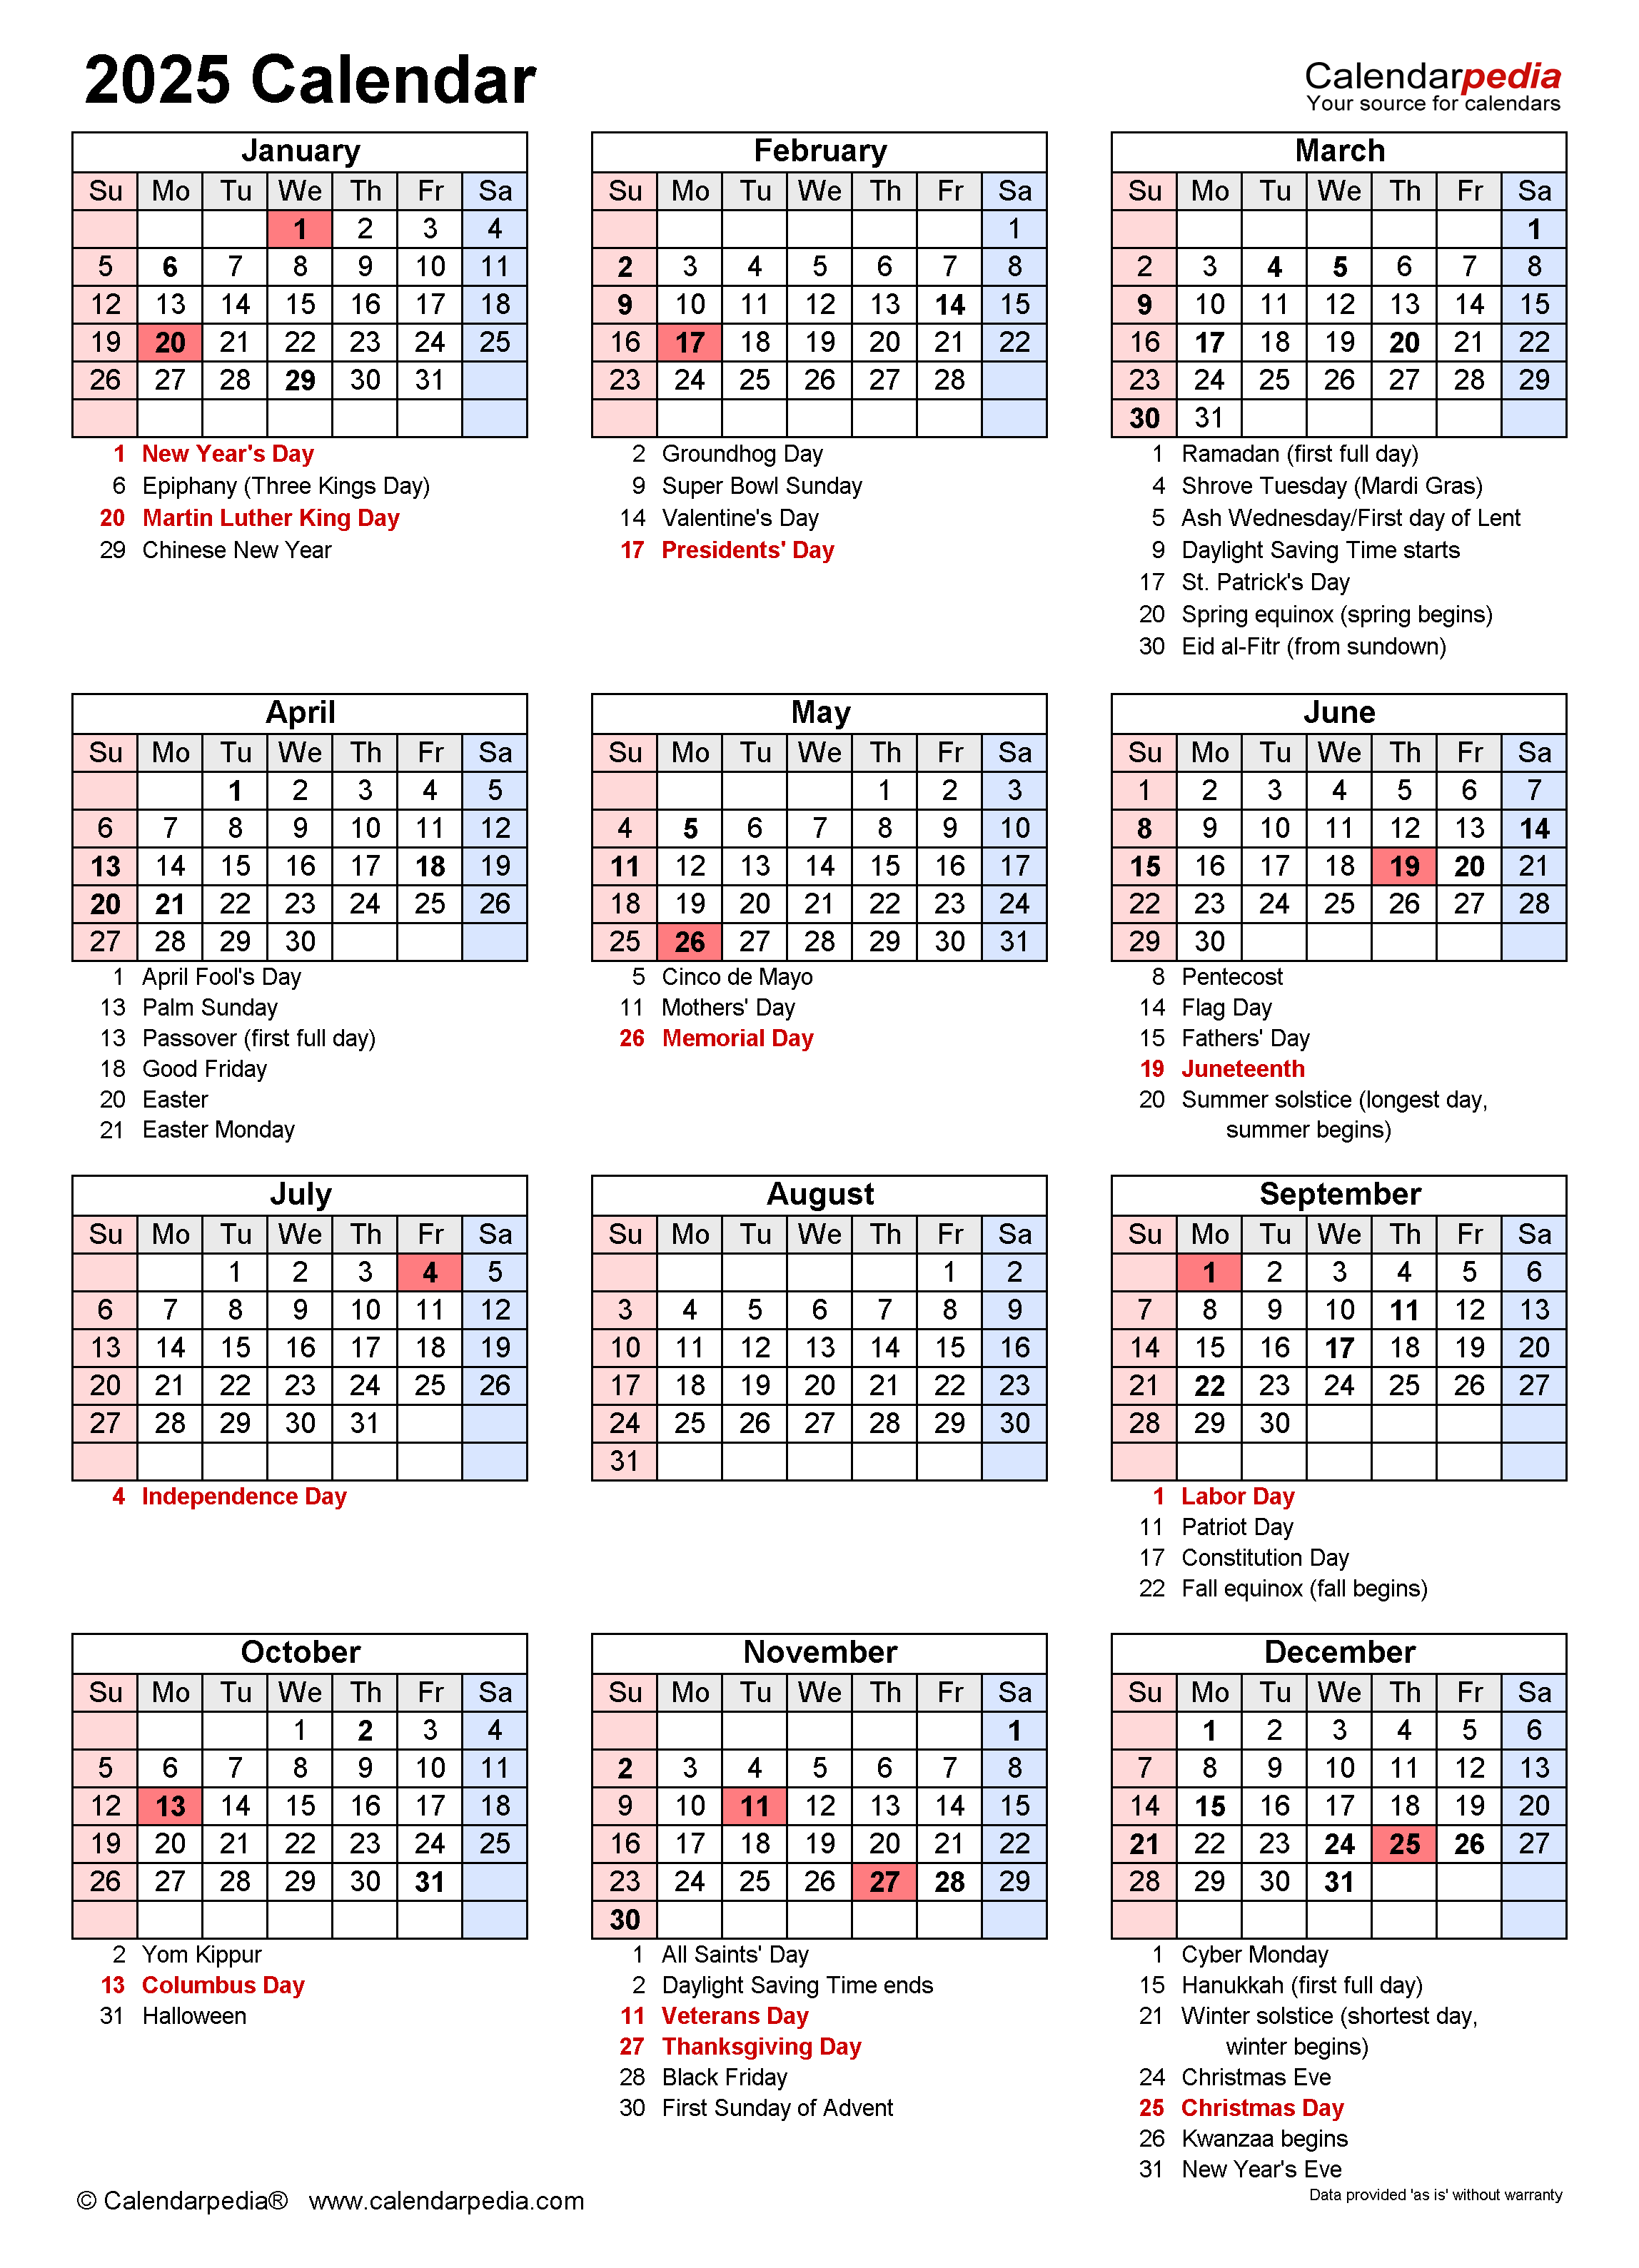
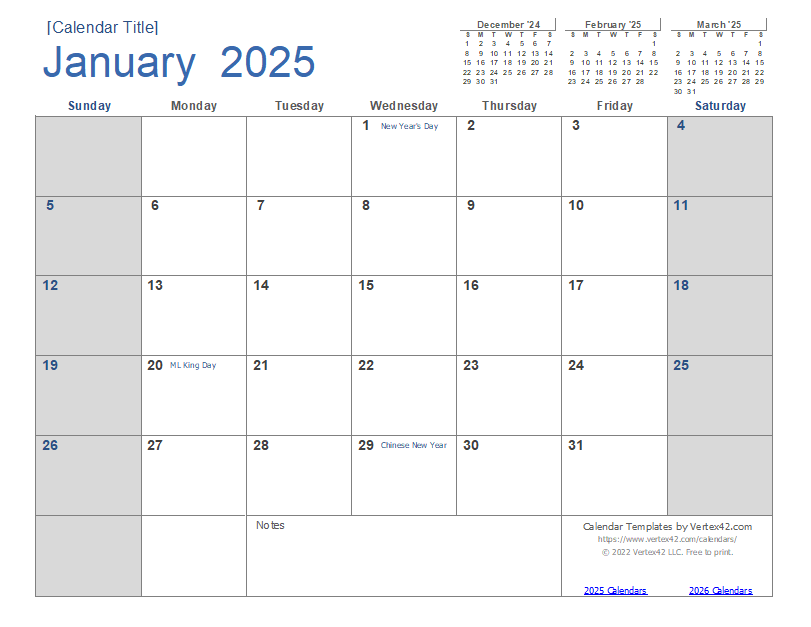
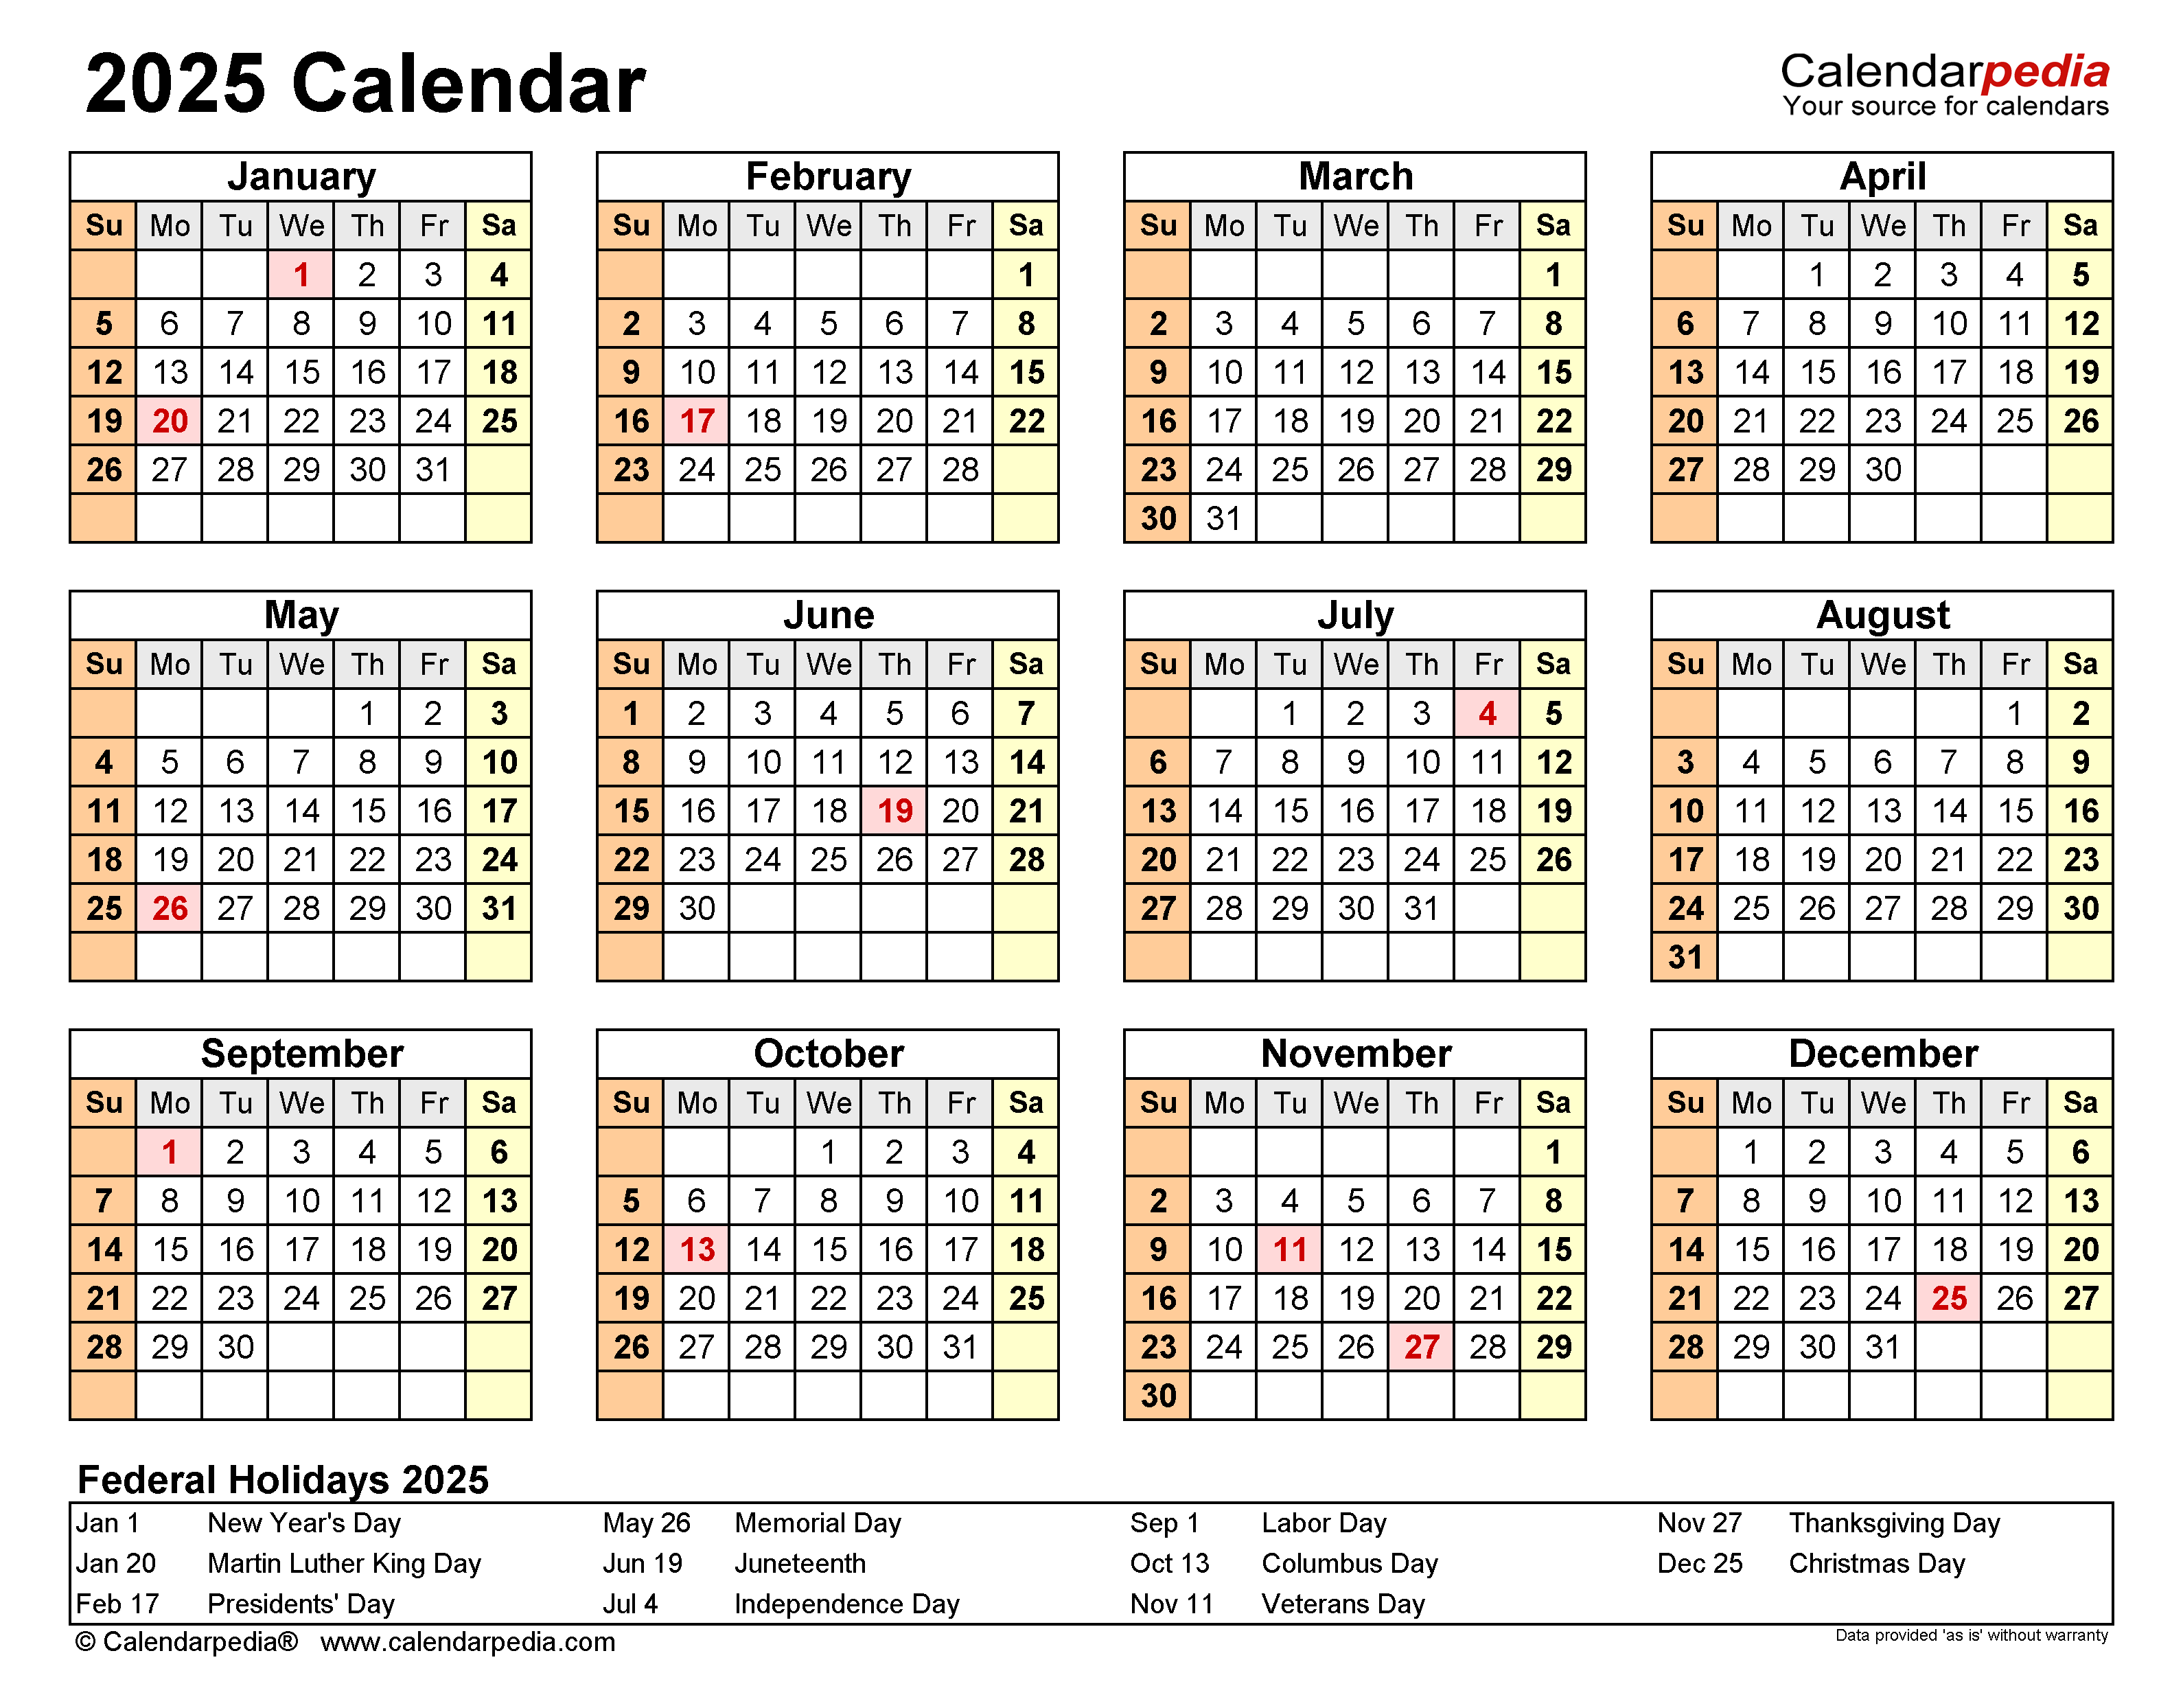
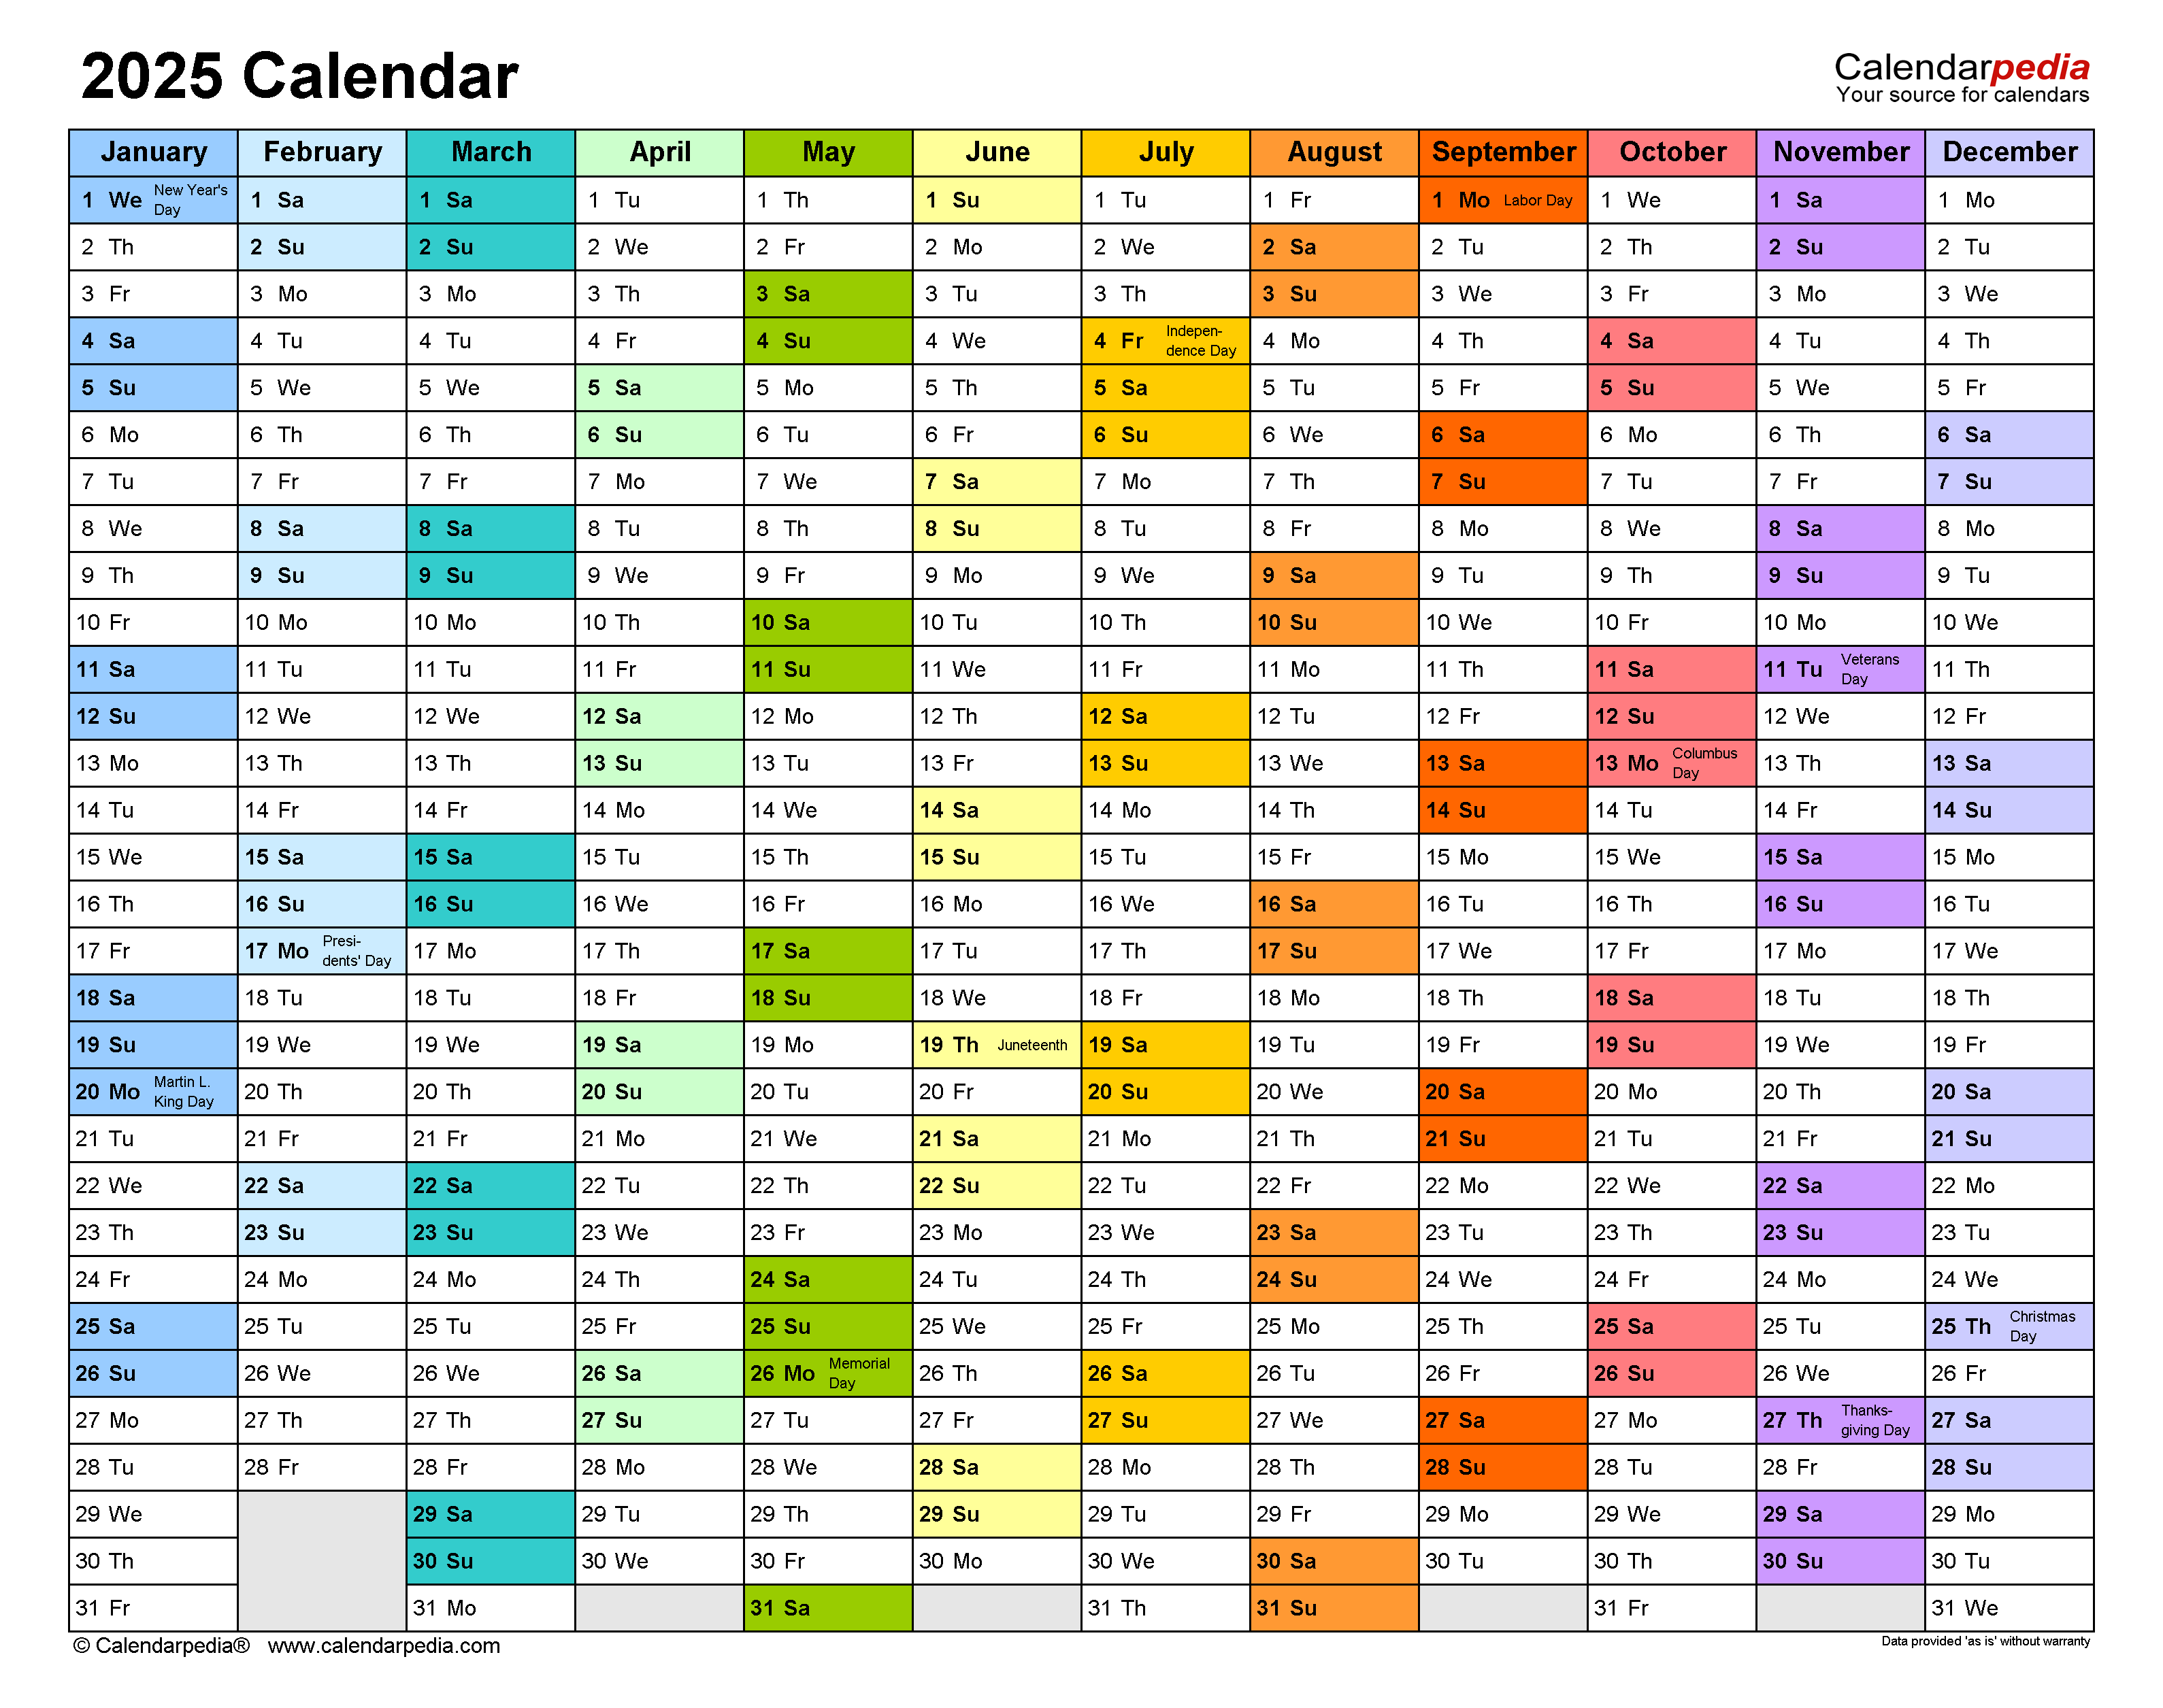
Excel is a versatile spreadsheet application that offers a wide range of features, including the ability to create and customize monthly calendars. A monthly calendar is a useful tool for planning and scheduling tasks, events, and appointments. It can be used for personal or business purposes and can be easily shared with others.
This guide will show you how to create a monthly calendar in Excel 2025. We will cover the basics of calendar creation, as well as more advanced techniques for customizing the appearance and functionality of your calendar.
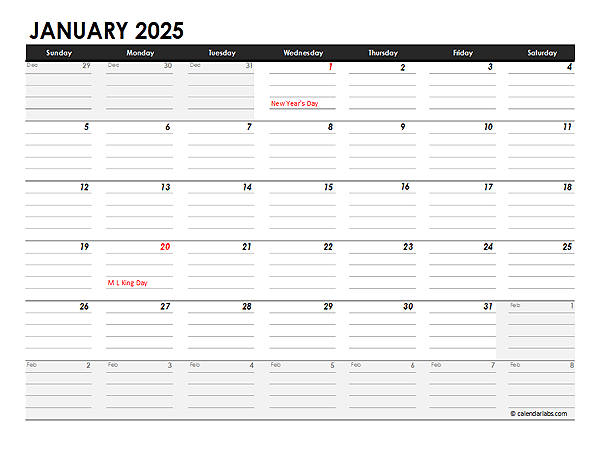
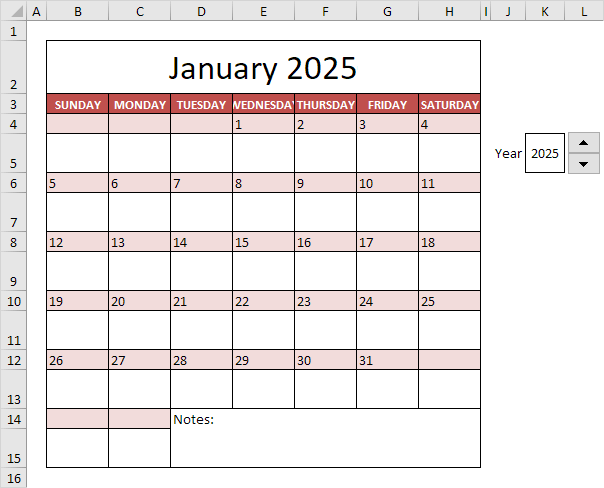
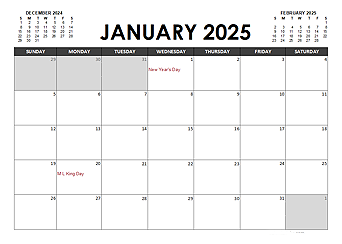
Creating a Monthly Calendar in Excel 2025
- Open a new Excel workbook.
- Click on the "Insert" tab.
- In the "Tables" group, click on the "Calendar" button.
- A dialog box will appear. In the "Start date" field, enter the date you want your calendar to start on. In the "End date" field, enter the date you want your calendar to end on.
- Click on the "OK" button.
Excel will create a monthly calendar based on the dates you specified. The calendar will be displayed on a single worksheet.
Customizing the Appearance of Your Calendar
Once you have created a monthly calendar, you can customize its appearance to suit your needs.
- Changing the font and font size: To change the font or font size of the text on your calendar, select the cells you want to change and then click on the "Font" button in the "Home" tab.
- Changing the cell color: To change the color of the cells on your calendar, select the cells you want to change and then click on the "Fill Color" button in the "Home" tab.
- Adding borders: To add borders to the cells on your calendar, select the cells you want to change and then click on the "Borders" button in the "Home" tab.
- Merging cells: To merge cells on your calendar, select the cells you want to merge and then click on the "Merge & Center" button in the "Home" tab.
Adding Events to Your Calendar
You can add events to your calendar by entering them into the cells on the calendar. To enter an event, simply click on the cell where you want the event to appear and start typing.
You can also add events to your calendar using the "Insert Event" dialog box. To open the dialog box, click on the "Insert" tab and then click on the "Event" button in the "Tables" group.
In the "Insert Event" dialog box, enter the following information:
- Event name: The name of the event.
- Start date: The date the event starts.
- End date: The date the event ends.
- Time: The time of the event.
- Location: The location of the event.
- Description: A description of the event.
Click on the "OK" button to add the event to your calendar.
Customizing the Functionality of Your Calendar
In addition to changing the appearance of your calendar, you can also customize its functionality.
- Adding a title: To add a title to your calendar, click on the "Insert" tab and then click on the "Header & Footer" button in the "Text" group. In the "Header" field, enter the title you want to use.
- Adding a footer: To add a footer to your calendar, click on the "Insert" tab and then click on the "Header & Footer" button in the "Text" group. In the "Footer" field, enter the footer you want to use.
- Adding a grid: To add a grid to your calendar, click on the "View" tab and then click on the "Gridlines" button in the "Show" group.
- Adding a background image: To add a background image to your calendar, click on the "Page Layout" tab and then click on the "Background" button in the "Page Setup" group. In the "Background" dialog box, select the image you want to use.
Sharing Your Calendar
Once you have created and customized your calendar, you can share it with others. To share your calendar, click on the "File" tab and then click on the "Share" button. In the "Share" dialog box, enter the email addresses of the people you want to share your calendar with.
You can also share your calendar by publishing it online. To publish your calendar, click on the "File" tab and then click on the "Publish" button. In the "Publish" dialog box, select the location where you want to publish your calendar.
Conclusion
Creating and customizing a monthly calendar in Excel 2025 is a simple and straightforward process. By following the steps outlined in this guide, you can create a calendar that meets your specific needs.
Closure
Thus, we hope this article has provided valuable insights into Monthly Calendar 2025 Excel: A Comprehensive Guide to Creating and Customizing Calendars. We hope you find this article informative and beneficial. See you in our next article!